How to Launch a New Server?
This section helps you to launch a new Server on Nestify, with requisite configurations for hosting your WordPress or WooCommerce website successfully.
Pre-requisites: A verified Nestify account
Steps:
1. Log in to your Nestify account
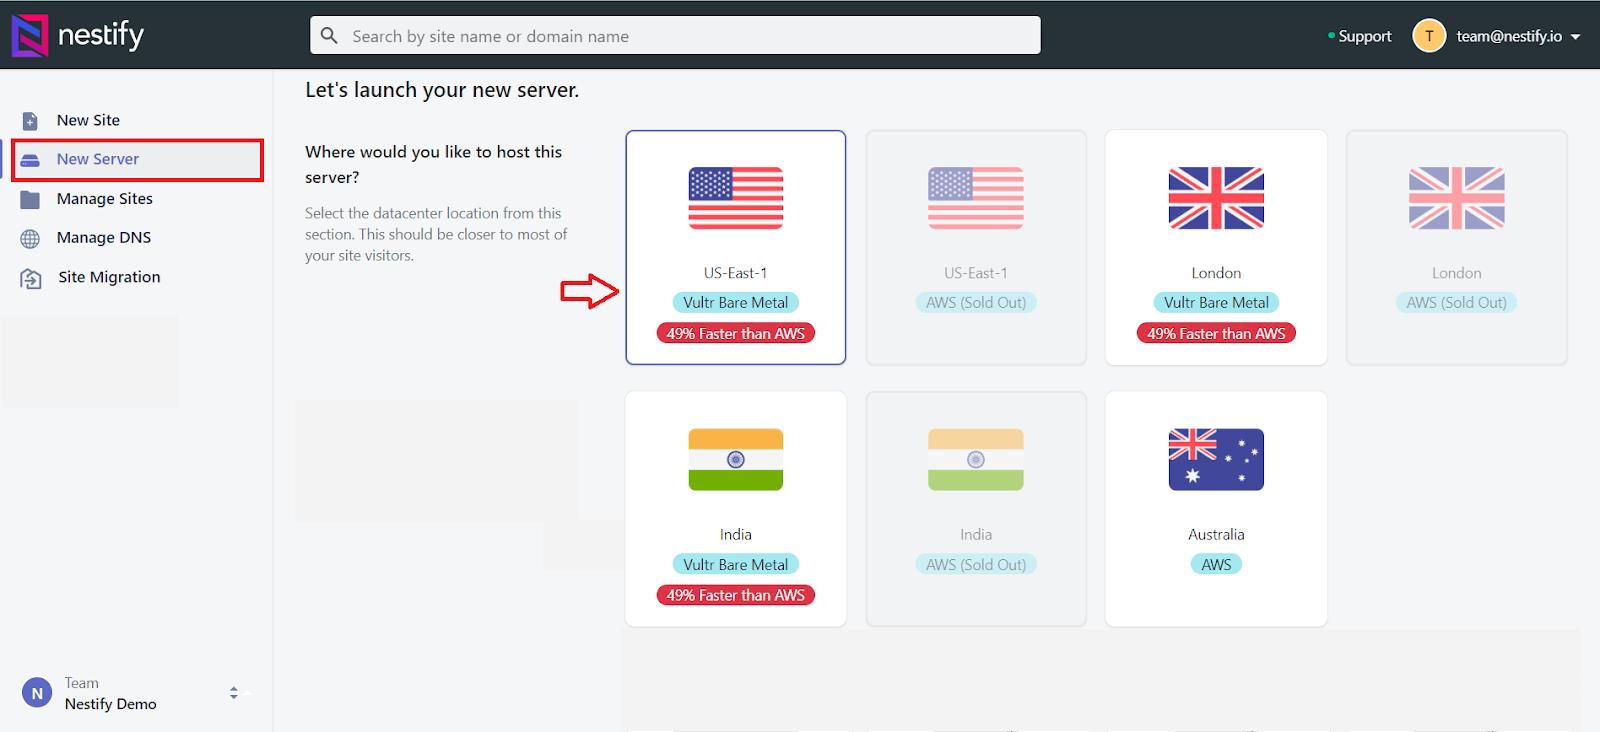
2. On the left corner, click New Server
3. On the screen, select the server where you would like to deploy your site. Select which region you would like to host your server: US-East-1, London, India, and Australia.
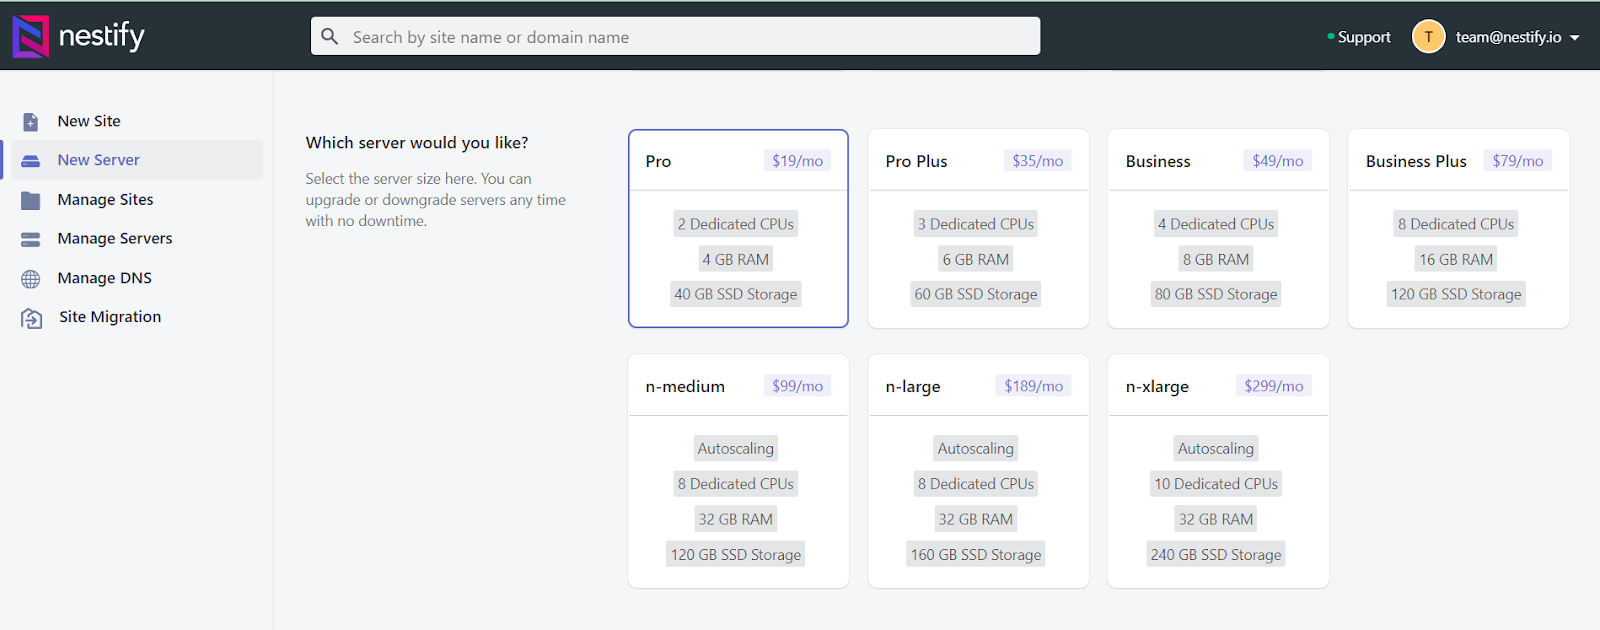
4. Select the best suitable configuration for the server, among the options available
5. In the Server Name, enter the server’s name
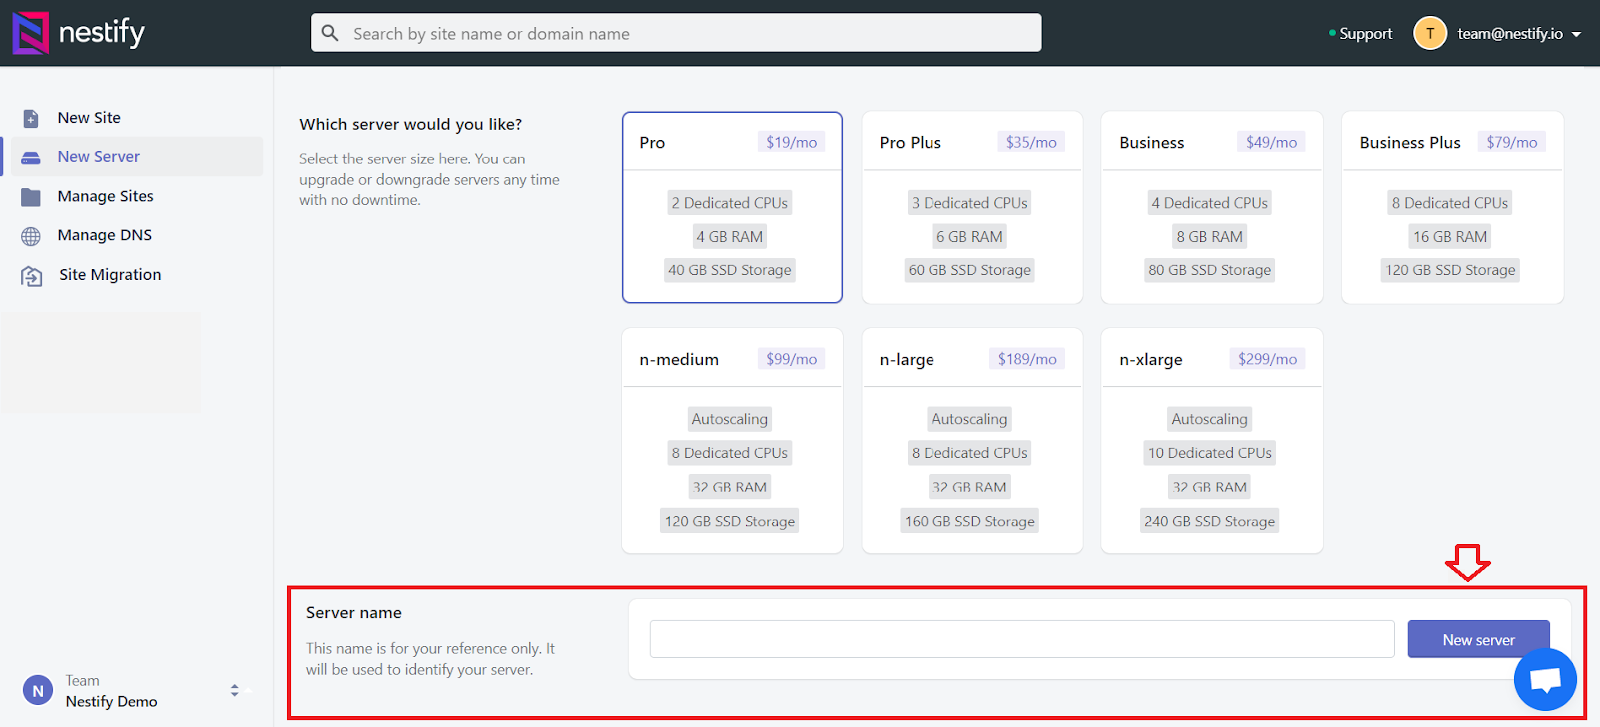
6. Your new server will begin setting up

It activates your account. Your 7-day free trial will begin once you enter your credit card details for monthly/yearly subscription. The following page will be visible:
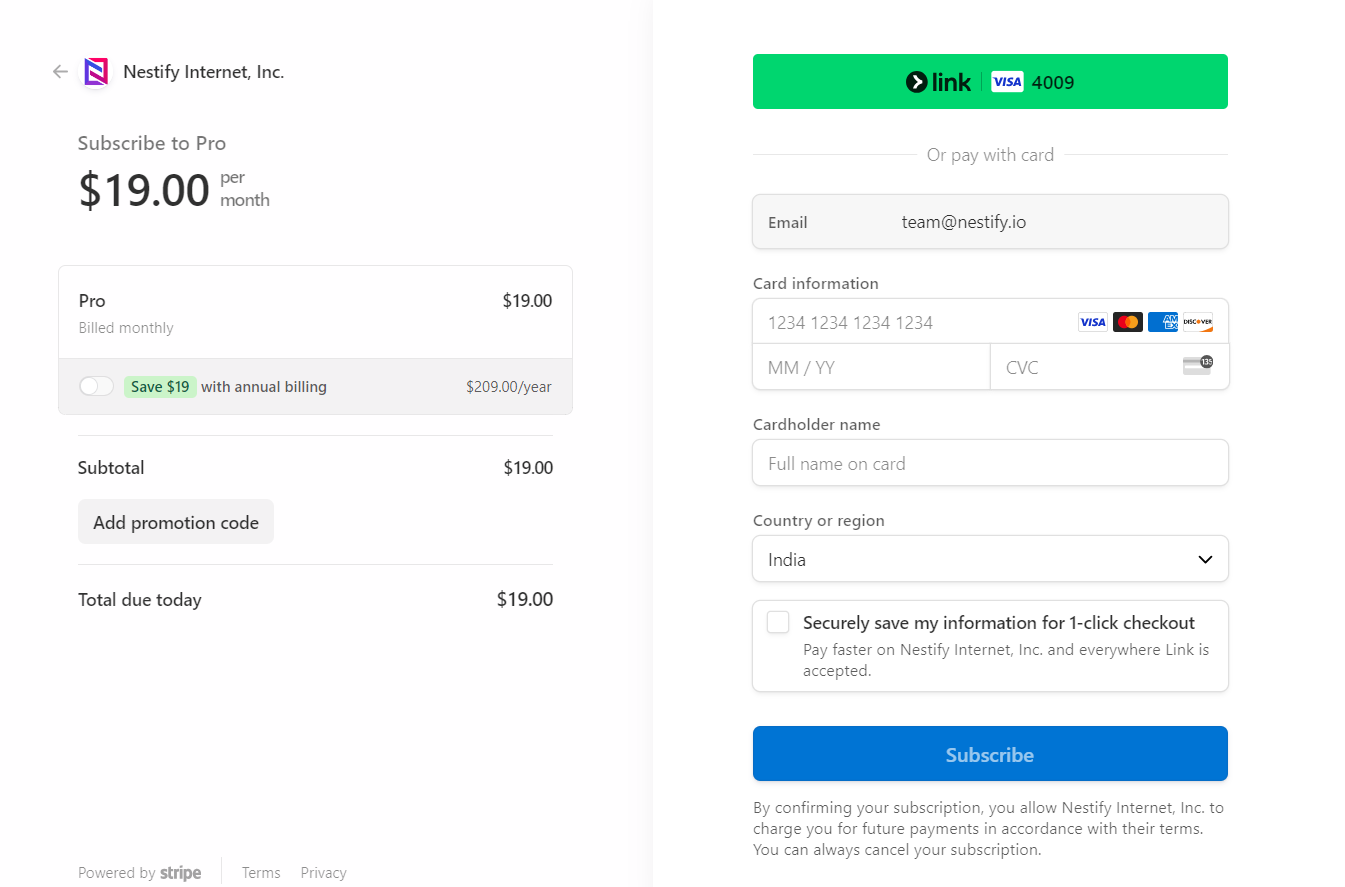
Note: Since it is a free trial, money will only be deducted after 7 days.
Once you enter your card details, click on subscribe. Your trial period will begin and you can proceed with managing the sites and the servers.